Note: You must have admin accounts for both LeadPerfection and Siro to complete this process.
What this integration enables
Once configured, the Siro–LeadPerfection integration will:- Sync your LeadPerfection appointments to Siro so recordings are automatically linked to the right engagement records, and reps receive reminders to record ahead of appointments.
- Auto-fill LeadPerfection records using Siro’s data extraction engine, which pulls structured fields from transcripts and writes them back to your CRM.
- Push AI-generated call summaries and notes from Siro directly into the associated LeadPerfection engagement record – no manual copy-paste required.
Before you begin
Before starting setup, ensure:- You have admin access in both LeadPerfection and Siro.
- You can create users and manage API permissions in LeadPerfection’s Security settings.
- You have your LeadPerfection Client ID on hand. This is the set of letters/numbers that appears before
leadperfection.comin the URL when you’re logged into your account (e.g. if your URL isacme.leadperfection.com, your Client ID isacme). - If your organization uses a custom LeadPerfection domain (i.e. your login URL is not a standard
*.leadperfection.comaddress), let your Siro Customer Success Manager know – there is an additional configuration step on our end.
Steps to connect
Step 1: Create the Siro API User in LeadPerfection
Siro connects to LeadPerfection using a dedicated API user. You’ll need to create this user and grant it the right permissions. Create the user:- Log into your LeadPerfection instance.
- Go to Security > Employees.
- Click + to add a new user. Enter “Siro” as the First Name, Last Name, and Username – then press SAVE.
- Navigate to Security > Passwords. Find the Siro user you just created and assign it a password. Save this password – you’ll need it in Step 2.
- Navigate to Security > User Access. Use the search box to find the “Siro” user row.
- Click the Pencil and Paper icon to edit the row.
- On the right side under Function Level Security, change the dropdown from LeadDetail to API Security.
- Using the checkboxes, enable the following API methods, then save:
Important: If any of these permissions are missing, the integration will fail to sync appointments or push notes. All three must be enabled for the integration to function correctly.Enable individual reps: Each sales rep also needs to be enabled at the account level in LeadPerfection in order for Siro to push data on their behalf. If a rep’s calls are not appearing in Siro or their notes are not pushing to LeadPerfection, verify that the rep is enabled in LP account settings.
Step 2: Set Up the Integration in Siro
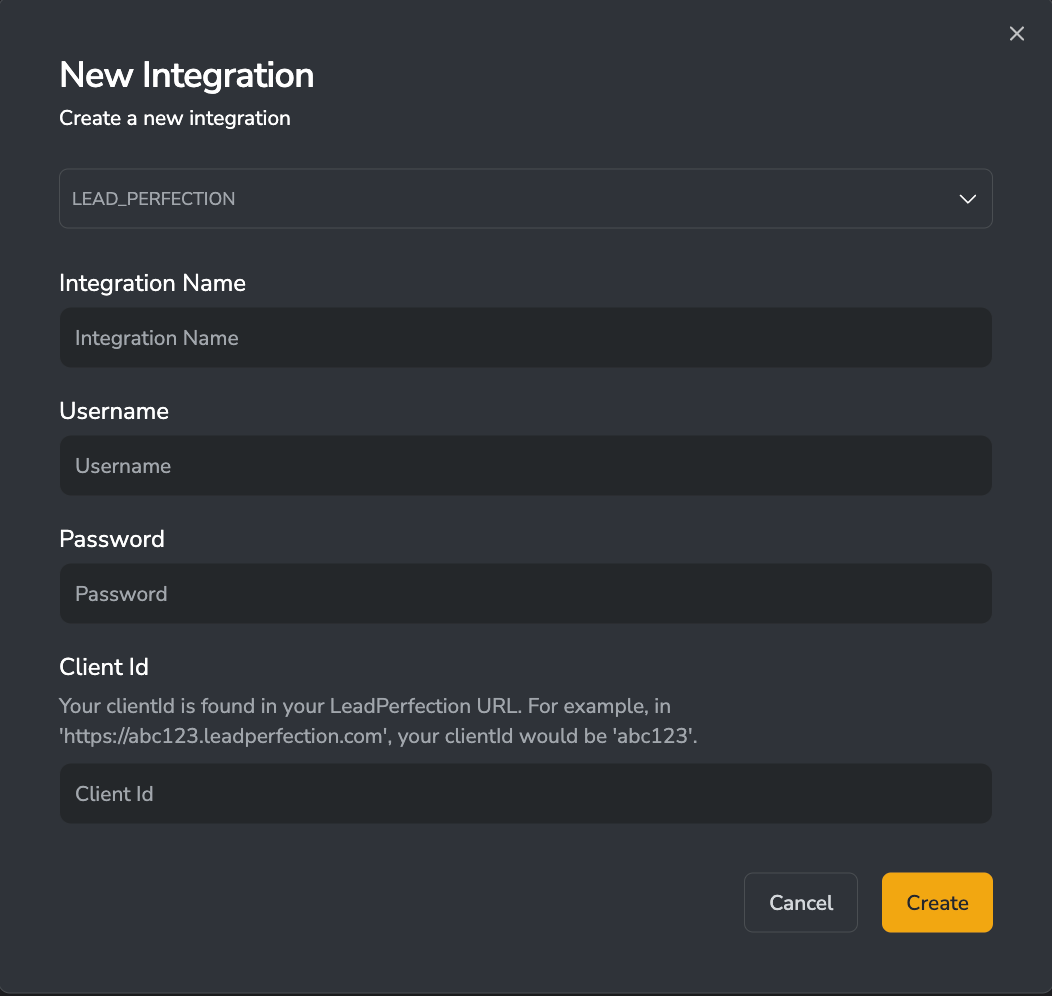
- Within the Siro web app, go to Settings > Integrations > + New Integration.
- Select Lead_Perfection from the dropdown.
- Enter the following credentials:
- Username – the “Siro” API user you created in Step 1
- Password – the password you assigned in Step 1
- Client ID – the prefix from your LeadPerfection URL (see Before You Begin above)